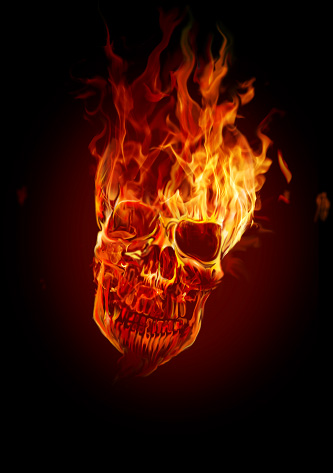
In this tutorial, we'll go through all the steps of creating a
flaming skull in Photoshop. We'll be using some images we shot
ourself of flames, and a stock Designious vector skull to get us
started. This tutorial covers some relatively simple steps and some
clever photo manipulation techniques. Let's get to it!
Author:
Designious
Designious is a design studio specialized in creating vector
packs, illustrations, t-shirt designs for the design community. We
create designs for web, print, and the apparel industry.
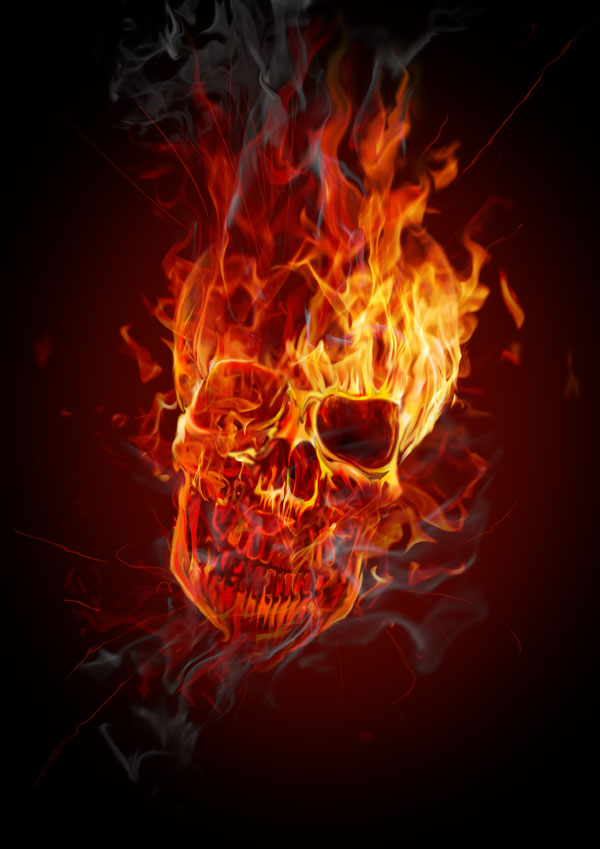
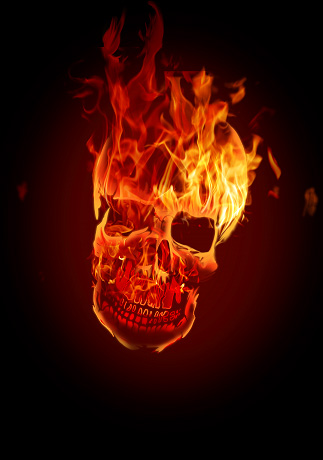
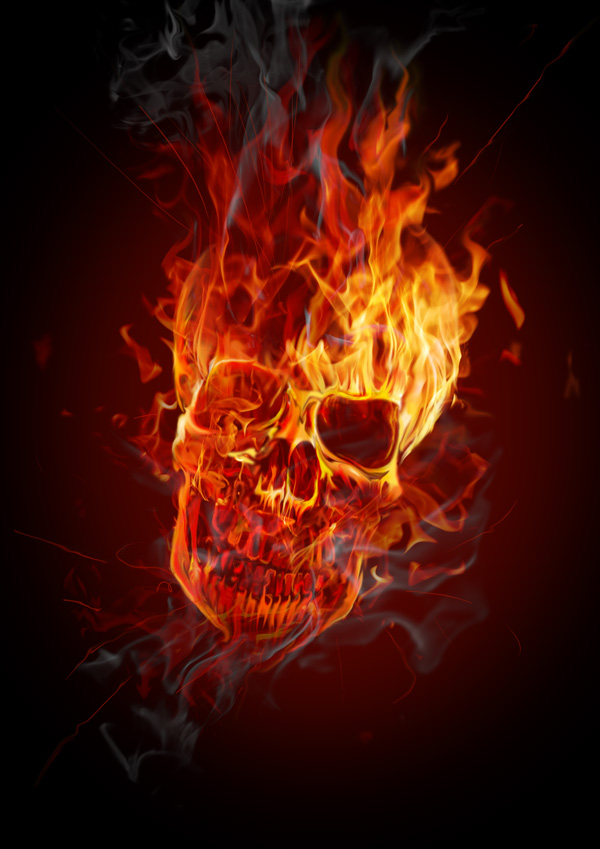
Final Image Preview
Take a look at the image we'll be creating. Want access to the
full PSD files and downloadable copies of every tutorial, including
this one? Join Psd Plus for just
$9/month. You can view the final image preview below.
Step 1
For this tutorial, I used Photoshop CS3, a skull from Designious.com (you could choose
to use a free skull though, such as Skull
Vector Pack 1) and some hi-res flames images. The high-res
image files are available to Psd Plus members
in the download pack. Though non-members are certainly welcome to
shoot your own flame photos or find some stock to use here, so you
can follow along.
To get things started, create a new document 210mm by 290mm with
a 100% black background.
Step 2
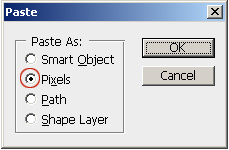
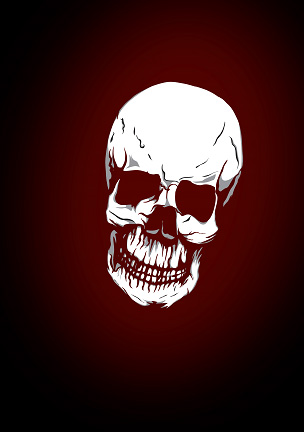
Copy (Command + C) and paste (Command + V) the vector from
Illustrator to Photoshop as pixels.
Step 3
On a new layer create an ellipse filled with dark red (#4c0400)
that surrounds the skull. Next, apply a Gaussian Blur of 250px
(maximum value), and place that layer under the skull.
Step 4
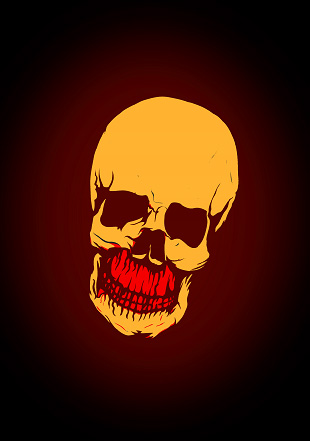
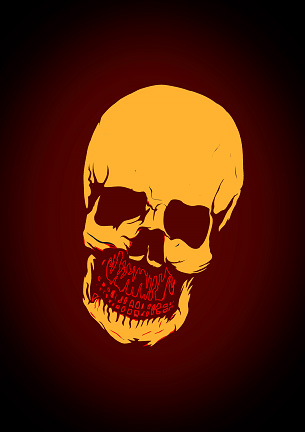
Let's prepare the skull for the flames. Select the white color
from the skull. (Select > Color Range) and fill it with an
orange-yellow color(#f9ae31), except the teeth and mandible that
will be filled with light red (#e82b19).
Step 5
Select the red area using Select > Color Range and then
contract using Select > Contract > with 4 px, then and
Delete.
Step 6
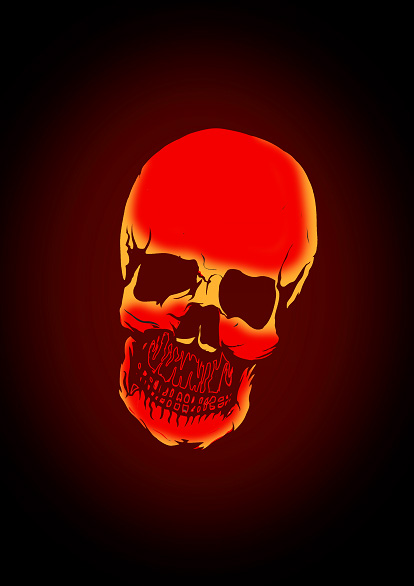
Select the yellow color. Next use a Brush with Toll on 250-300
px, Hardness of 0, Opacity at 10-15%, red for the color (d02207),
and gradually color from the interior towards the exterior, until
you get a skull with a bit of glow.
Step 7
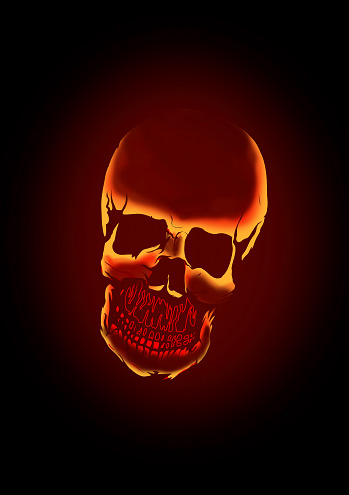
Lets try to add some volume to the skull. Use the Eraser Tool
with a diameter of 200px, Hardness of 0, and Opacity of 70%, and
erase some of the red. Here we establish the lighter and darker
parts of the skull so we can see some volume.
Step 8
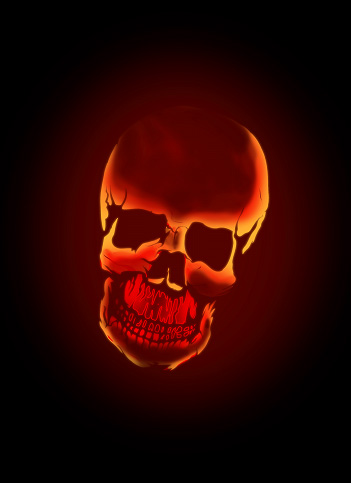
Now double the Skull layer. Select the skull closest to the
background and apply a Gaussian Blur of 8-10 px to create a
glow.
Select the area under the nose including the teeth. Now grab a
80px Brush with a color of red (#d02207). Brush color on the right
and left sides creating a soft gradient that ads depth to the lower
part of the skull.
Step 9
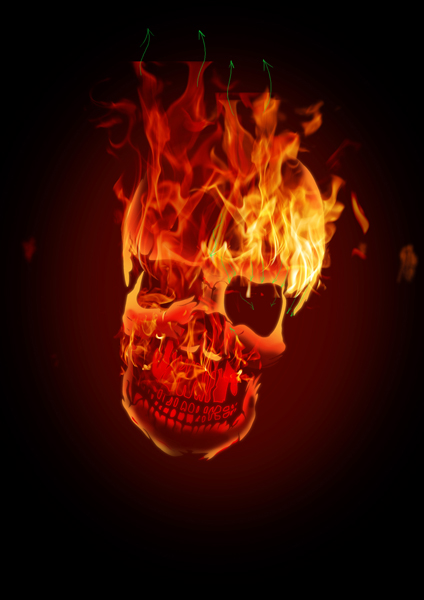
Now that we have a hot skull on our screen, let's start the
fire! Open the files with the flames and prepare each of them to be
used on our image as follows:
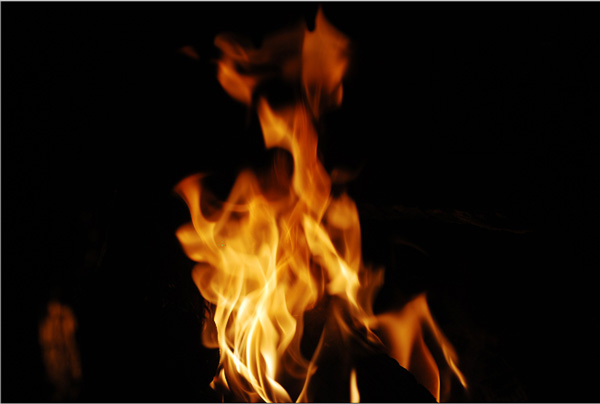
A. Open the flames files.
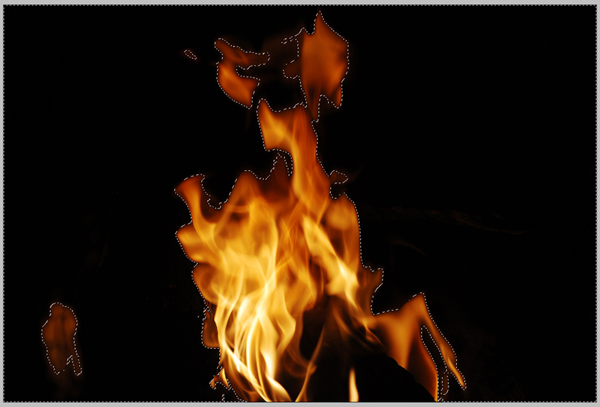
B. Go to Select > Color Range, and select the darker area of
the background. Next, Invert the selection (Command + Shift +
I).
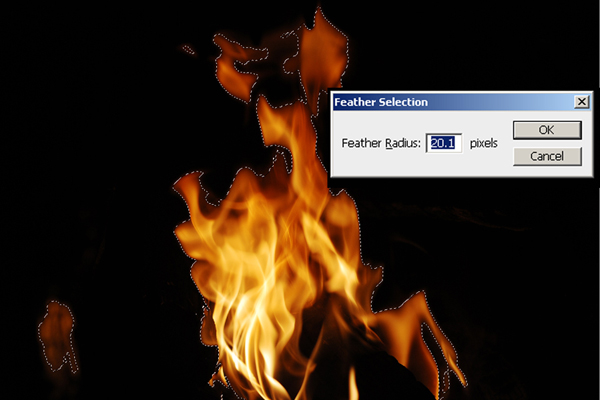
C. Go to Select > Modify > Feather, and set to about 20px.
Then drag and drop them into our main skull document.
D. Set the blend modes to Screen or Lighten.
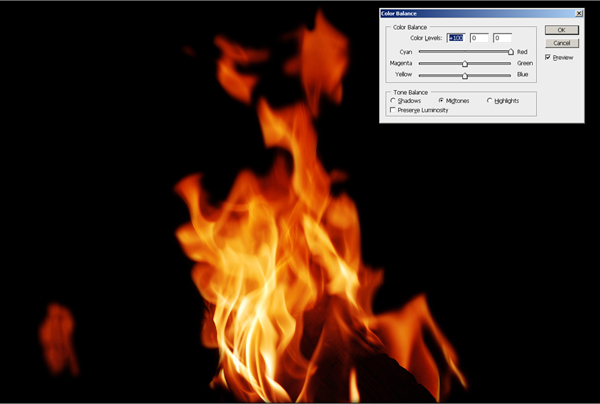
E. For the flames that will have other flames on top of them,
we'll need to adjust the color Balance. You can do this by going to
Image > Adjustments > Color Balance (Command + B).
Step 10
Use the Free Transform Tool (Command + T) to arrange each flame
into the desired position and the desired proportions.
Step 11
Notice that the teeth area looks a bit darker than the rest of
the skull so using the Brush Tool(B) and yellow (d02207) you
lighten some parts of the teeth so they can blend better with the
flames.
Step 12
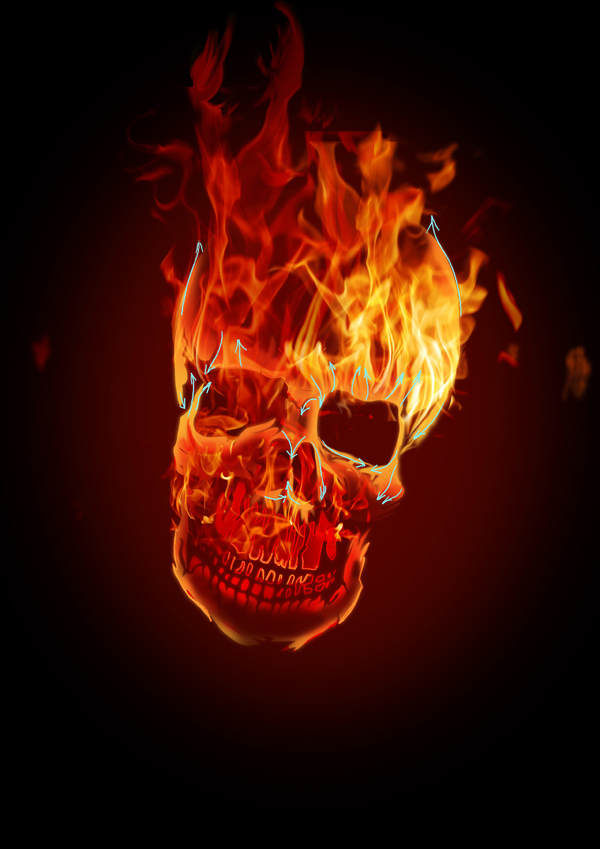
Use the Smudge Tool (R) on the flames near the eyeballs to make
them touch the skull so that you create a smooth transition from
the skull to the flames.
Step 13
Use the Smudge Tool (R) to make the yellow parts of the skull
blend with the base of the flames.
Step 14
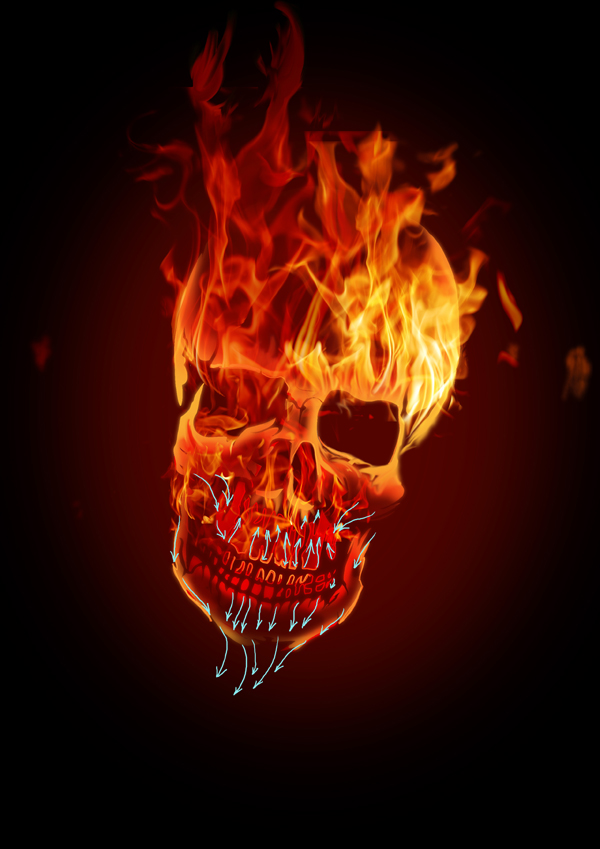
Use the Smudge Tool again in the red areas from the shadow where
you try to draw a contour going towards the dark areas.
Step 15
Use the Dodge Tool (O) to enhance the glowing effect on the
edges of the skull.
Step 16
Use the Burn Tool to work on the shadow areas of the contour so
you can smoothen the passes from light to dark.
Step 17
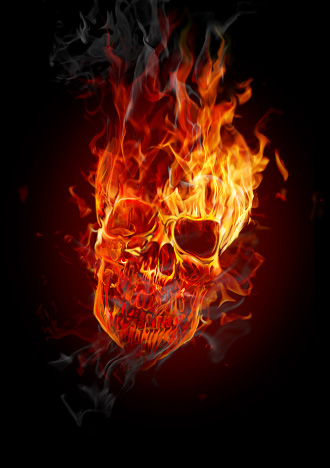
Now for the smoke. To create the smoke, use the same flame
images and apply the same techniques you did in Steps 10 and 11 to
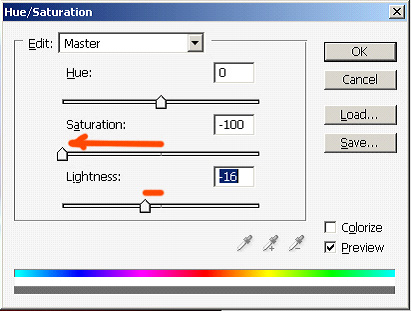
them. The difference here though is that you'll need to desaturate
these images to make them look like smoke. You can do this by going
to Image > Adjustments > Hue/Saturation > Desaturate
(Command + U), then set it to -100 for Saturation, and -16 for
Luminosity.
Step 18
Now lets apply a 2px Blur filter on the smoke so it blends
better. Do this by going to Filter > Blur > Gaussian
Blur.
Conclusion
Now the sparks! Using a Brush of 3px with 100% Hardness and 100%
Opacity you start drawing the sparks. You can alter some of them
using the Smudge Tool (R). And that puts the finishing touches on
this image.
Subscribe to the Psdtuts+ RSS Feed for the
best Photoshop tuts and articles on the web.

